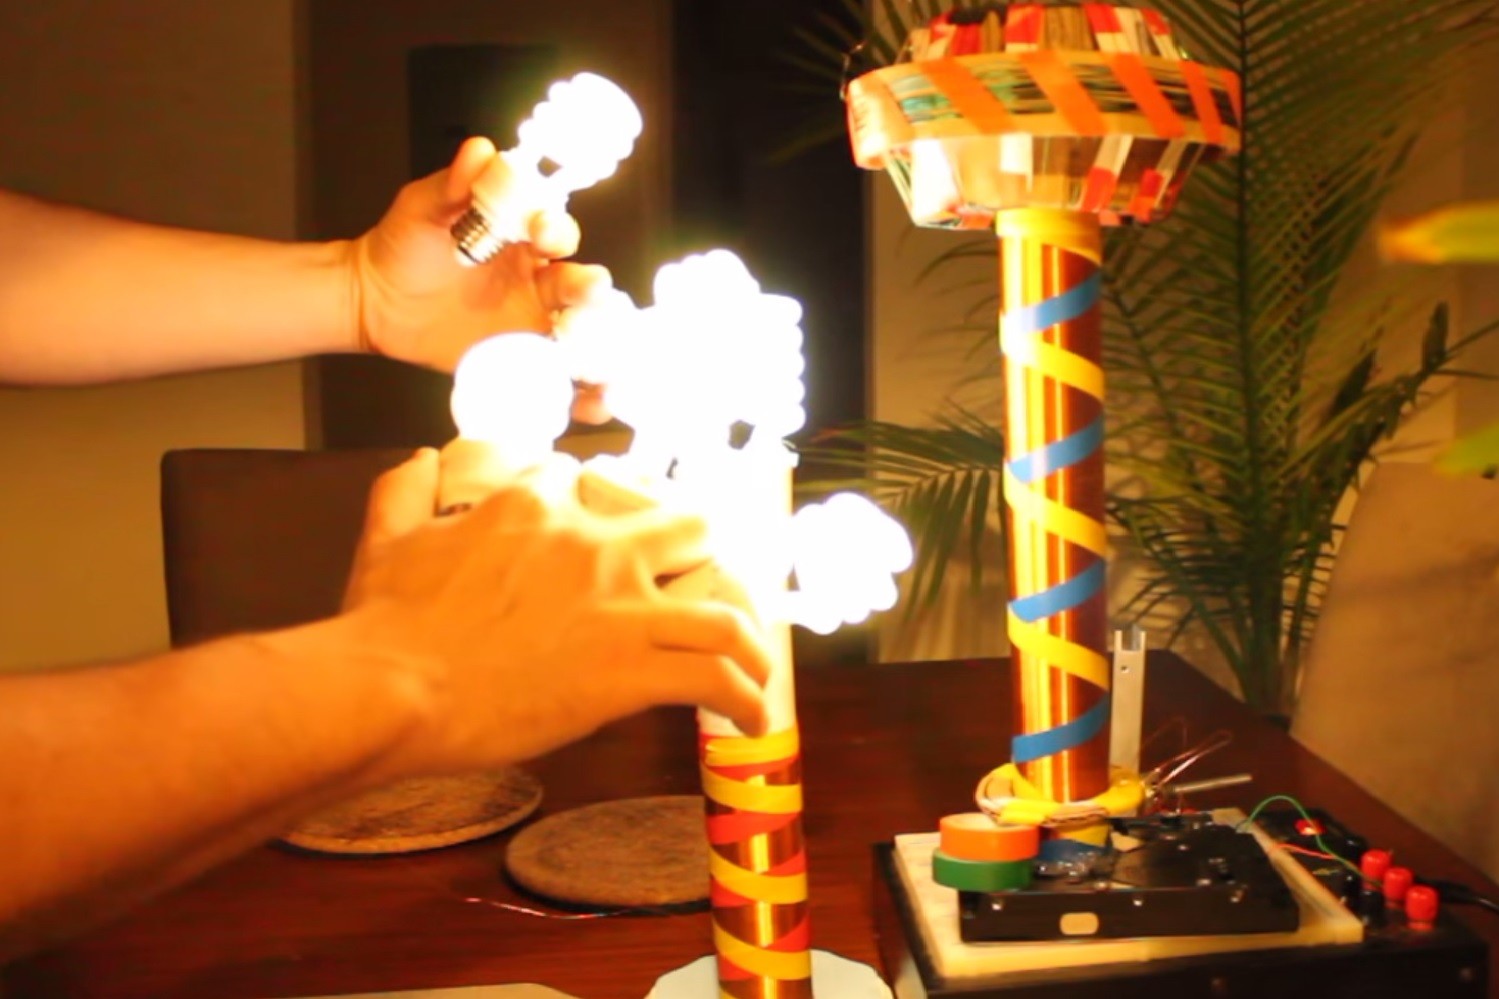
In any Tesla coil the toroid (or top capacitance load) is a key component.
Safety warning: One thing to keep in mind is that it is not recommended to run your Tesla coil without a top load, although it will function (with a bit less output). The spark generated by the L2 may be fun to observe and tinker with, however it is dangerous by nature (in seen and unseen ways) and produces ozone.
There are several ways to approach toroids from a hobbyist perspective. Depending on available materials in your area, and budget, there are several avenues you can choose when seeking a toroid. There are generally two types of top loads- spherical, and actual toroidal shaped loads. Spherical loads are generally best for wireless power distribution, while the actual toroidal shaped loads are best for visible breakout arching.
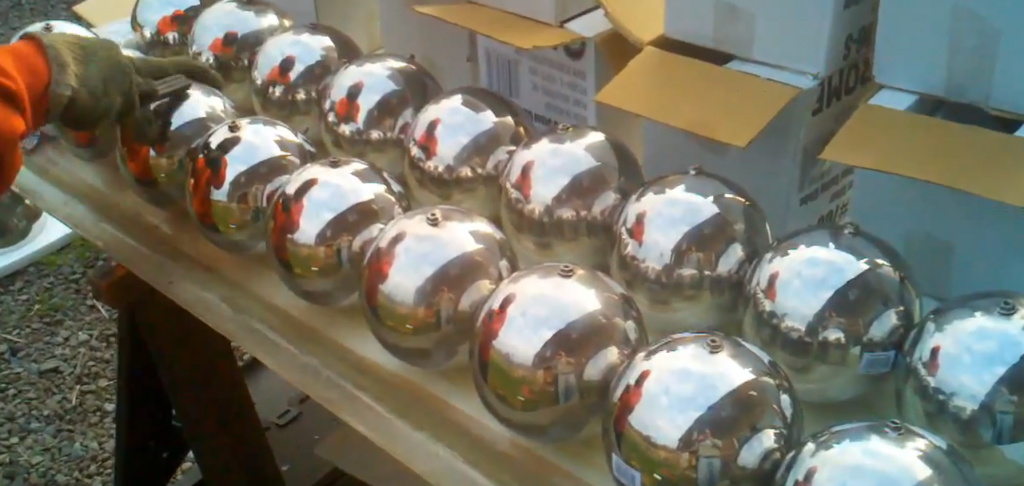
Hollow stainless steel sphere
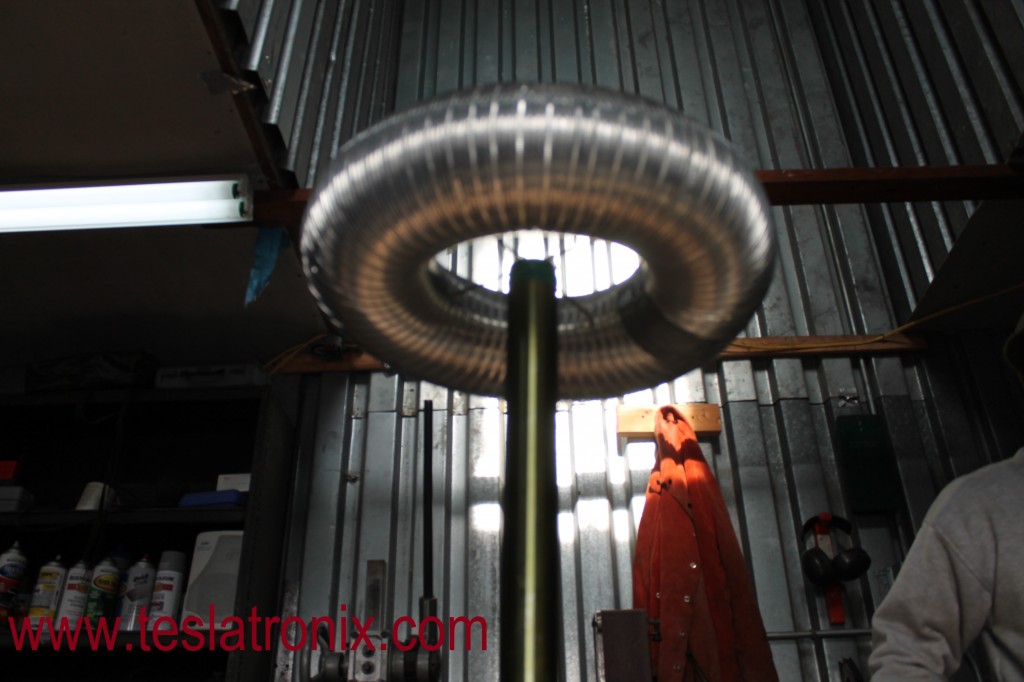
Aluminum duct
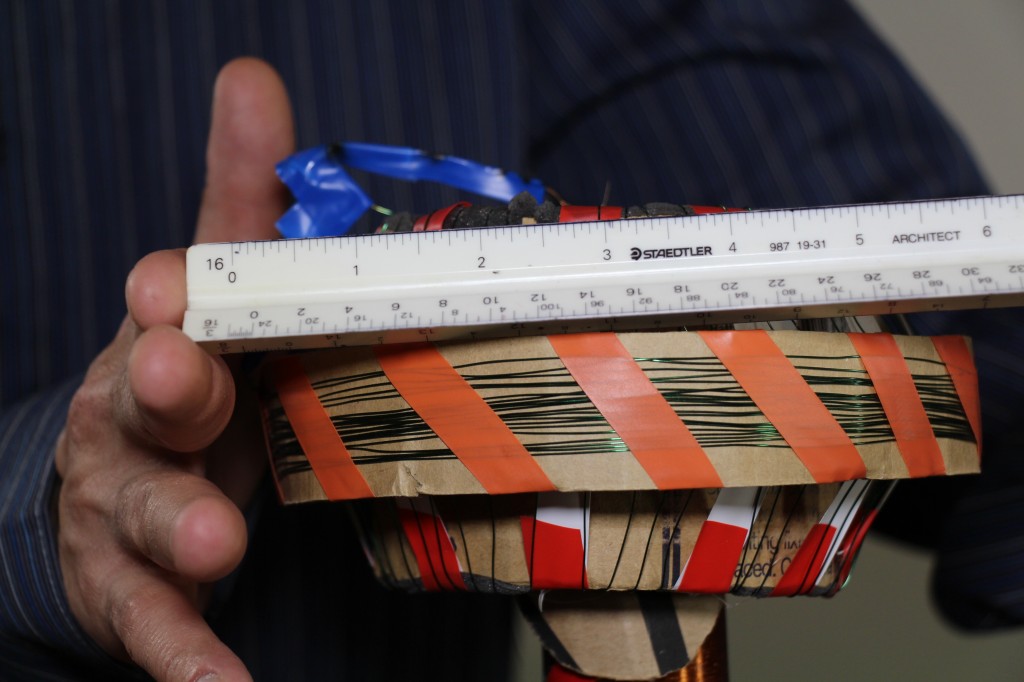
Wire toroid design
There are optimum ratios to achieve best performance per milliamp draw when it come to toroid design. However, available materials, cost, aesthetics are also a factors. Out of proportion top loads within certain tolerances generally do not have a negative impact on the overall performance of these Tesla coils.
A wire toroid design can be conjured if a metallic sphere or aluminum duct type is unavailable. A simple design for prototyping would consist of cardboard cut-outs, wrapped many times in thin gauge wire, or fewer times with a heavier gauge wire. Electrical tape can be applied along the windings to secure them in place. Once a sufficient density of wire is chosen, snip the end with enough left over to form a small tension spring to connect to the L2. Solder the two ends of the wire together to ensure that there is no voltage difference within the toroid. Remember, this is not an inductor( L3); its purpose in the circuit is a capacitor, not an inductor.
Metallic paint can also be applied for increased effect, however many types of paint are flammable, even after setting for more than 24 hours, so choice of paint is key (if desired).


Is there any way that you could draw up a basic plan for a cardboard cut out toroid, like the one you have viewed?
Cut one piece of cardboard into a flat disc. Cut a hole in the center of this disc to fit your L2. Then cut two identical strips of cardboard,and make cylinders out of them, so that they fit on the top and bottom of the first flat disc you cut out. For instance, the first piece of cardboard should resemble a doughnut or a large CD, and the cylinders should rest within 50% of the width of the disc. Glue it all together. I used electrical tape and glue for the ones featured.
Wrap your magnet wire horizontally around the cylinders, then vertically around through the inside of the hole. If your spool source is too wide to fit in the hole for the L2, consider re-spooling your wire onto a smaller spool, perhaps a sewing spool. Make sure all ends of wire are soldered together to ensure a voltage difference of 0V across it- as it is to function as a capacitor/antenna, not an inductor. For this reason the quality of the windings is less important, and overlapping is not detrimental. The idea is to form as much surface area of wire as possible within reason. From this single node, make a small hook that can be used to form a bit of tension with the L2.
Can you give some tutorial of how to hook the stainless steal sphere to the L2. Do you just rest in on the PVC pipe hole with the L2 lead contacting the sphere?
thanks
You can. Alternatively, you can purchase a PVC end cap, and drill a hole in it the size of the nut. Then, use a system of washers and an as short as possible 1/4 20 bolt to fix it to the end cap.